
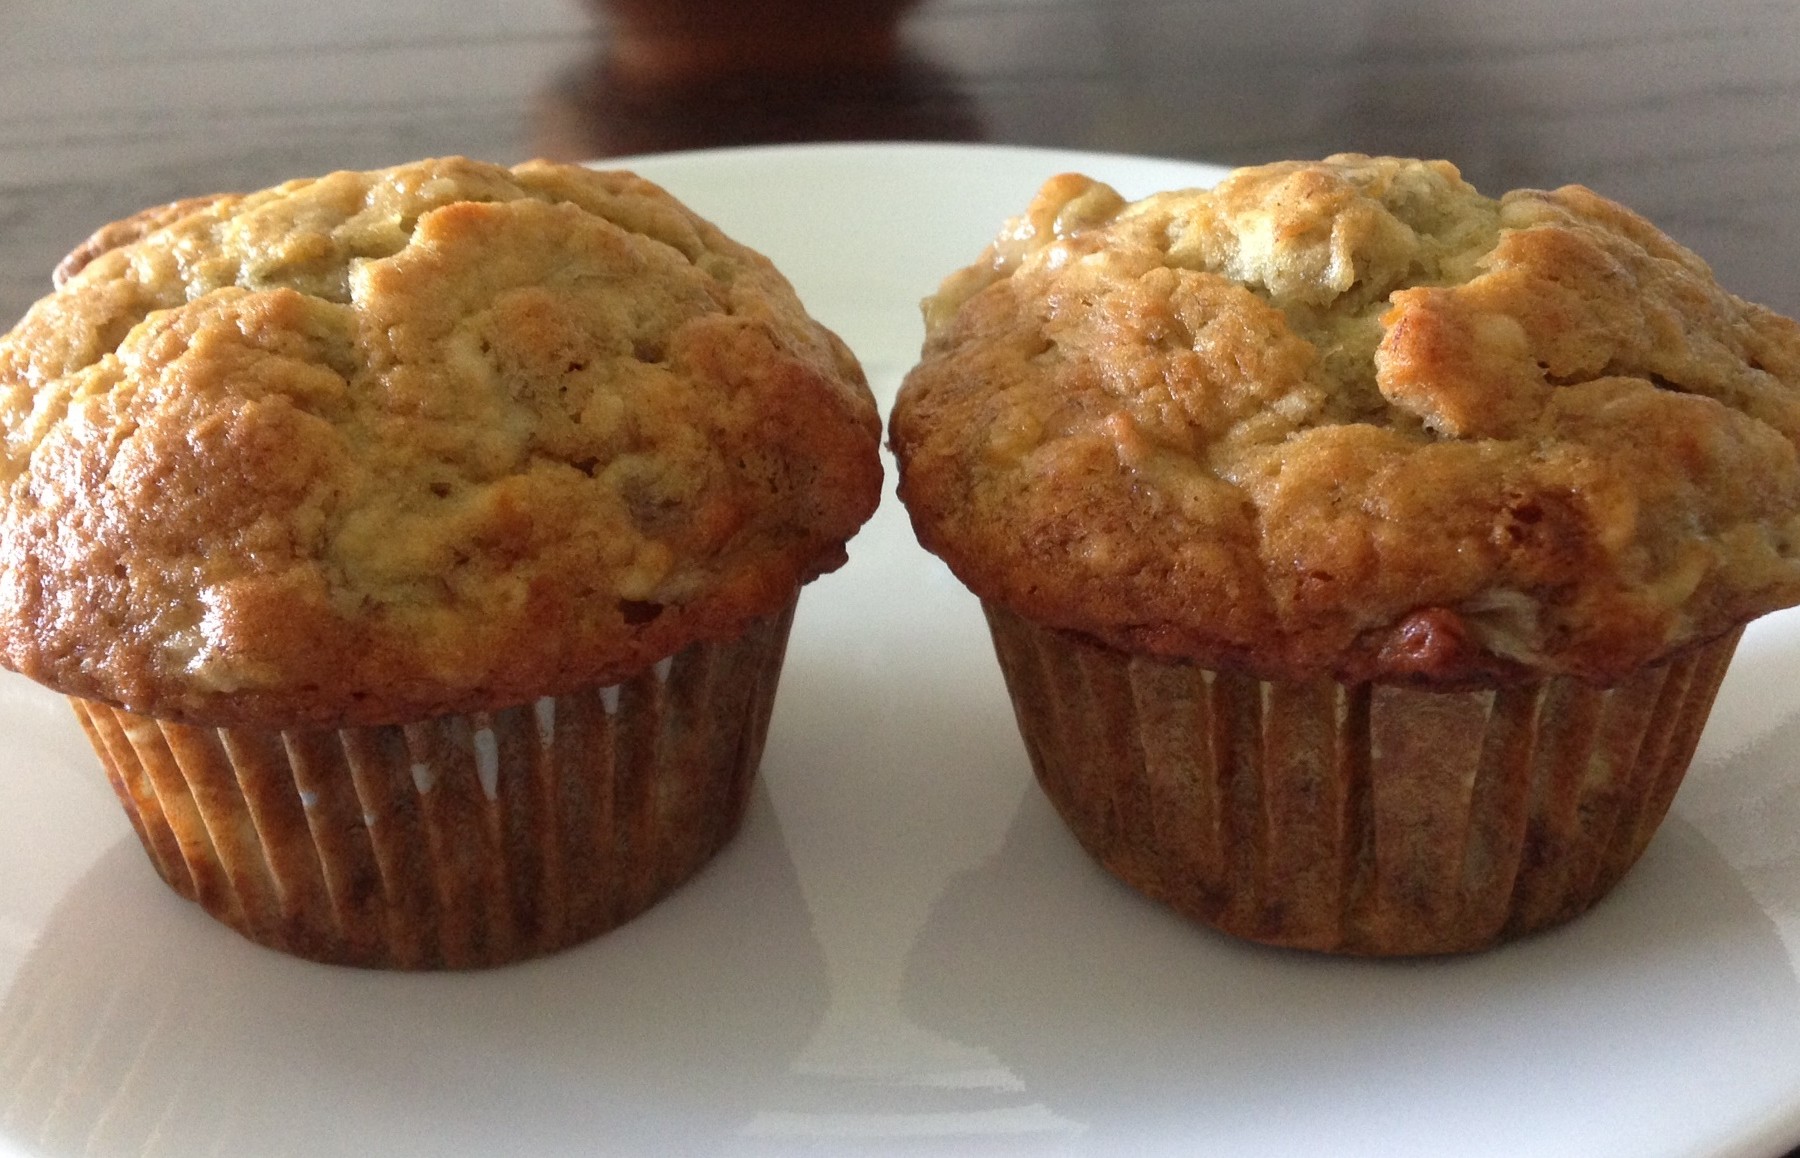
Banana nut muffins
Makes 12 muffins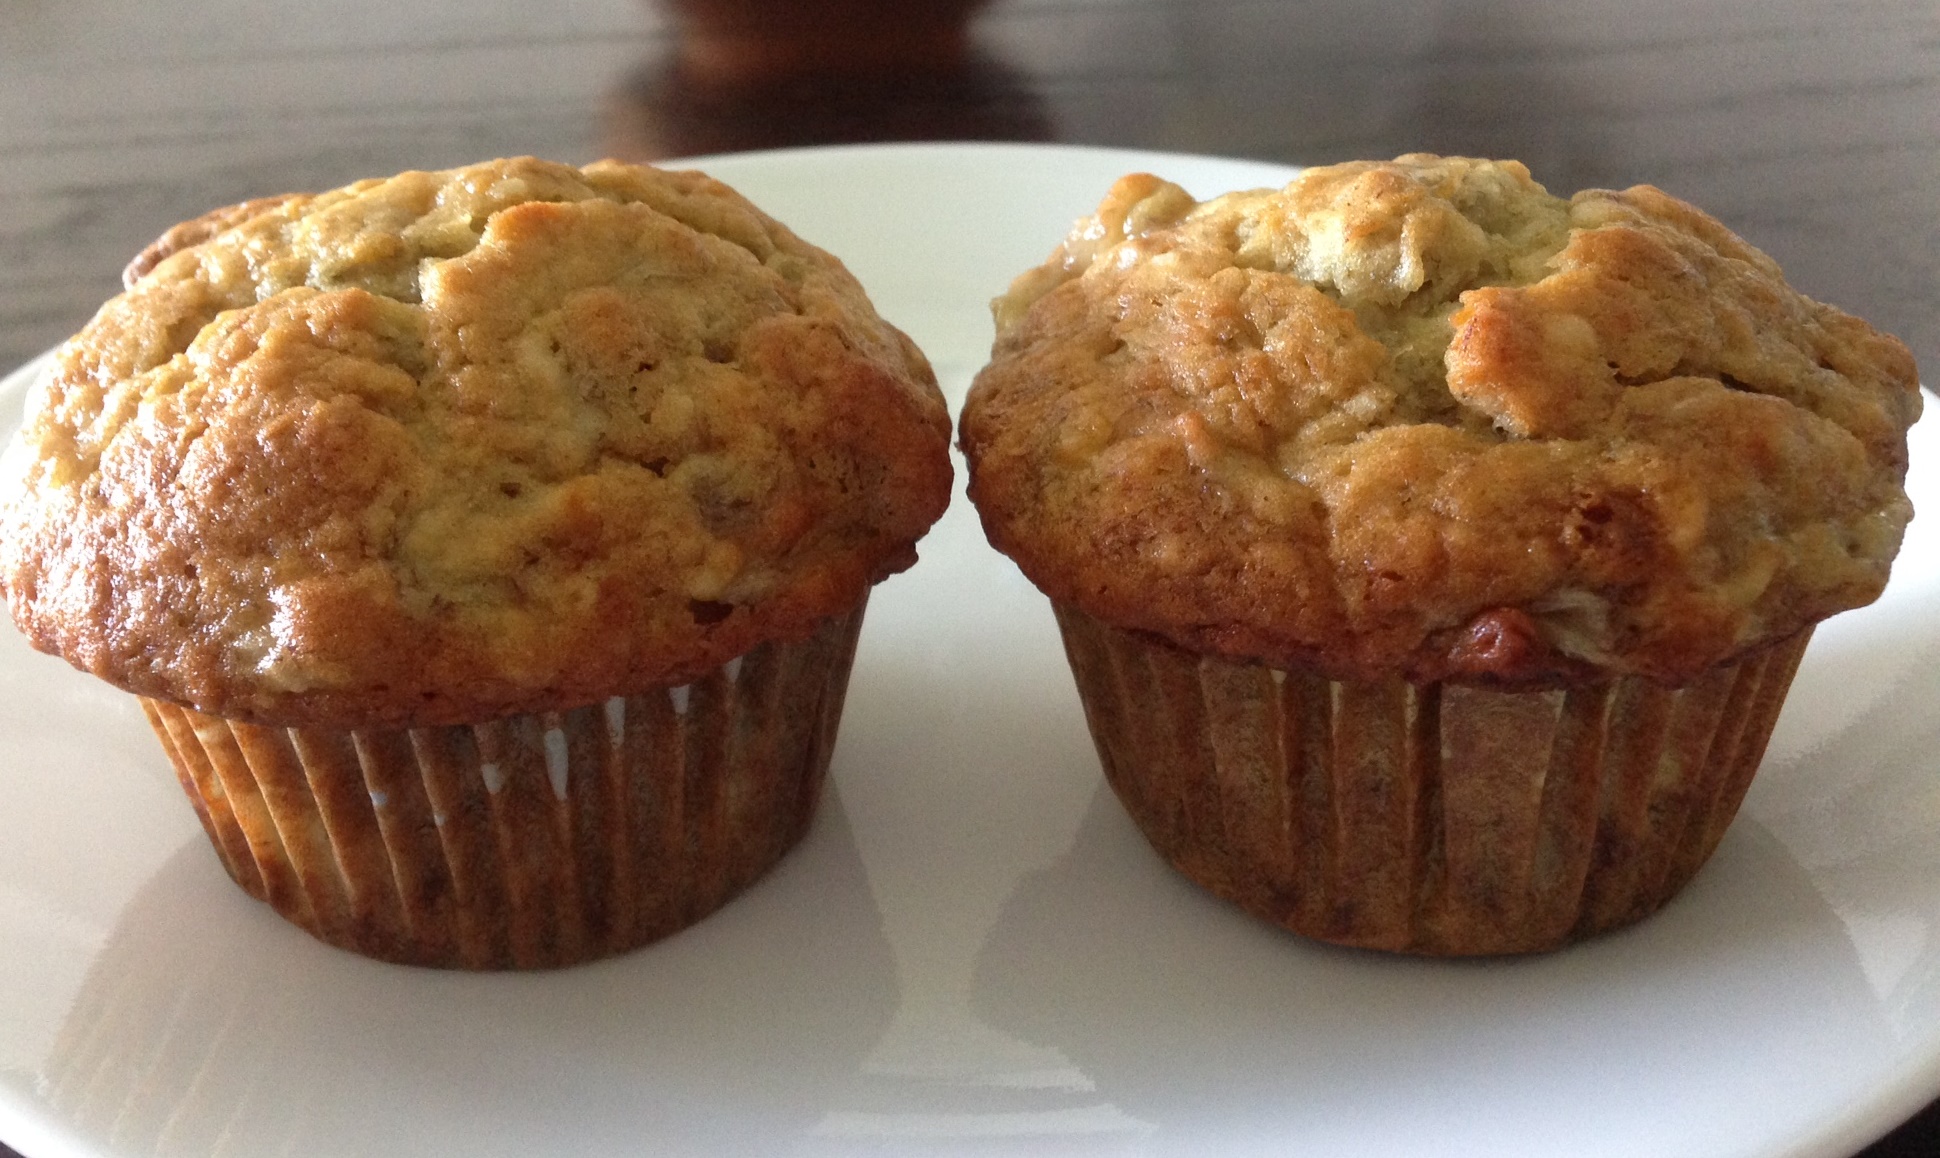
These are quick and easy to make and taste delicious for breakfast or morning coffee. I tend to switch around ingredients depending on what I have in the cupboard but the basic recipe is my favorite. A friend asked me for the recipe so I decided to add it to our blog for posterity, then it can be shared by one and all.
Ingredients:
- 3 or 4 large (7 1/2 to 8 inches long) bananas
- 1/2 cup sugar
- 1/3 cup butter, melted
- 1 large egg – lightly beaten
- 1 1/2 cups all purpose white flour
- 0.25 tsp salt
- 1 tsp baking powder
- 1 tsp baking soda (bicarbonate of soda)
- 1/2 cup chopped walnuts or pecans (or chocolate chips, cranberries etc. if you like)
Method:
- Preheat oven to 350F/180C
- Mash bananas with sugar
- Add melted butter and egg
- In a separate bowl sieve flour, salt, baking powder and baking soda
- Lightly stir the nuts into the dry ingredients so they are lightly coated
- Mix all together lightly
If you only use 3 bananas you will need to add a little milk or natural yogurt to make the mixture a moist drop consistency.
- Spoon into greased/lined muffin pan
- Bake for 25 minutes until nicely browned on top
- Remove onto cooling rack for a few minutes to rest before eating (I mean the muffins! You can go rest too if you wish but I don’t recommend the cooling rack!)
Nutrition:
- Carbs 28g
- Calories 200
- Fat 9.3g
- Sodium 236mg
- Protein 3g
I made these early this morning and I was still half asleep and forgot to photograph the stages or even the muffins until there were just the two left! They really are simple to make so have a go and then post your photos.
11th June 2015 – Update
Today I made the muffins but had run out of butter. I substituted coconut oil and the flavour was really delicious. I will be using coconut oil to make these in future!
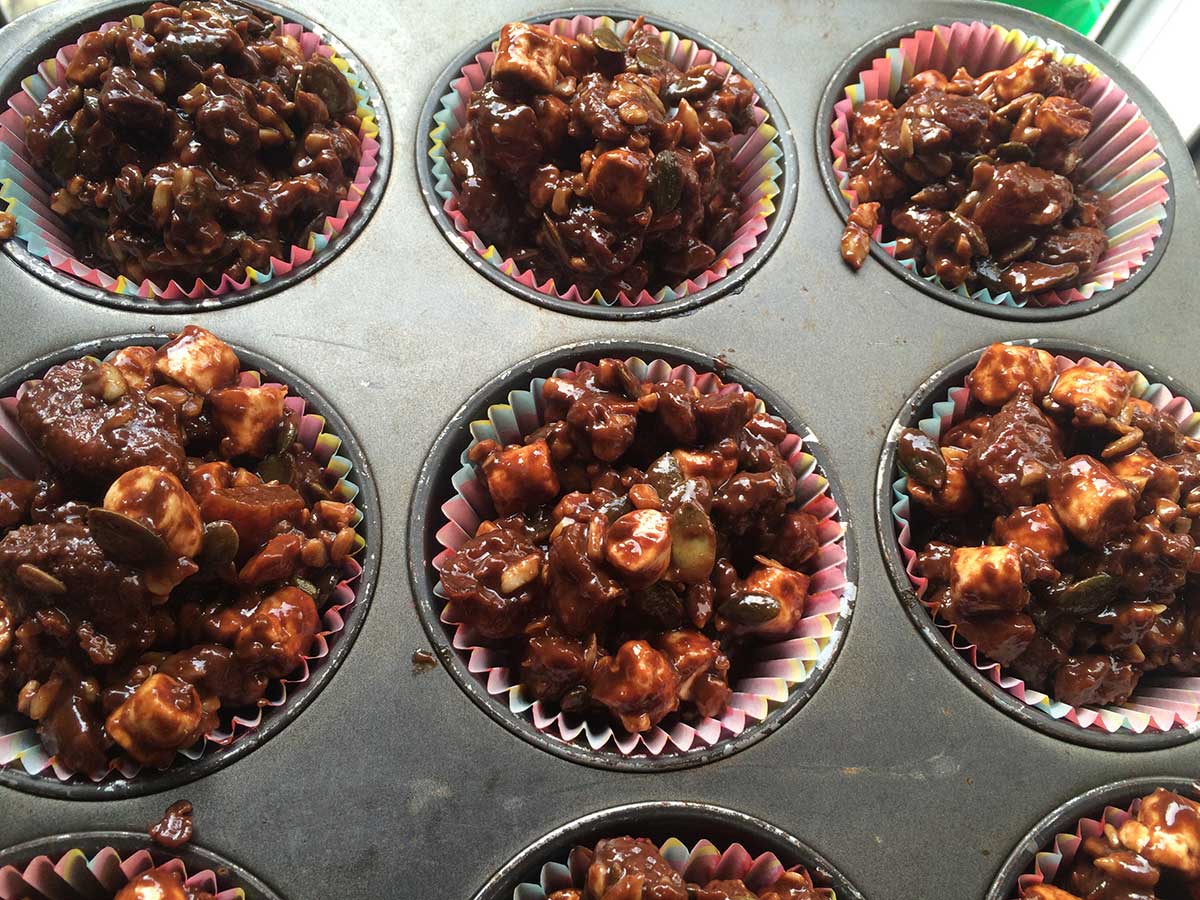
Rubbish Rocky Road Cakes
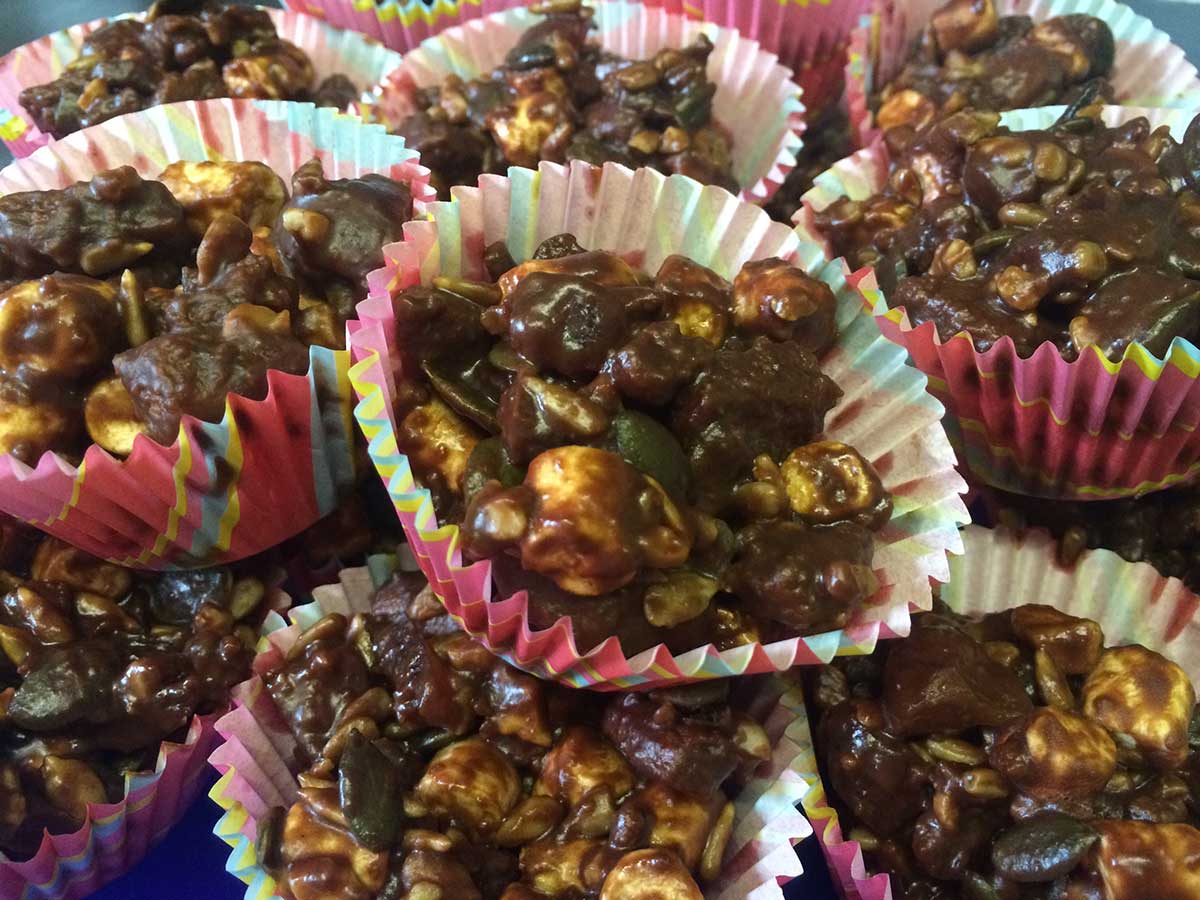
Okay, so that title might not be entirely inspiring, but it’s more polite than what my husband calls them 😉 These sweet treats are a great way to use up all those leftover baking ingredients! Found yourself with some leftover chopped nuts, dried fruit or glacé cherries? Just throw them in! 🙂 Same goes for the end of your muesli, rice crispies, packet of biscuits, or that chocolate bar at the back of the cupboard!
I’ve been making variations on this recipe for years. I usually make mine in cupcake cases so that if they end up a bit crumbly it doesn’t matter 🙂 Other people make it as a tray and chop it into slices. Sometimes I use just a few ingredients, other times a little of everything! So my recipe is for the basic chocolate mixture and then suggestions for other ingredients 🙂
I usually manage to make about 24 of these sweet treats from this recipe 🙂 The more ingredients you add the more you’ll make, but the more likely they are to fall apart (not exactly a problem, just not as easy to eat!) 🙂
Basic Ingredients
- 150g Dark chocolate
- 150g Milk chocolate
- 125g Butter
- 3 tbsp Golden Syrup
Additional Ingredients for a Basic Rocky Road
- 300g Digestive Biscuits (in small pieces)
- 100g Mini Marshmallows
Alternative Ingredients Used in Today’s Photos
- 100g Glacé Cherries
- 150g Ginger Nut Biscuits
- 100g Pumpkin Seeds
- 75g Mini Marshmallows
- 50g Chopped Dates
- 50g Chopped Nuts
- 100g Dried Apricots
- 100g Sesame Seeds
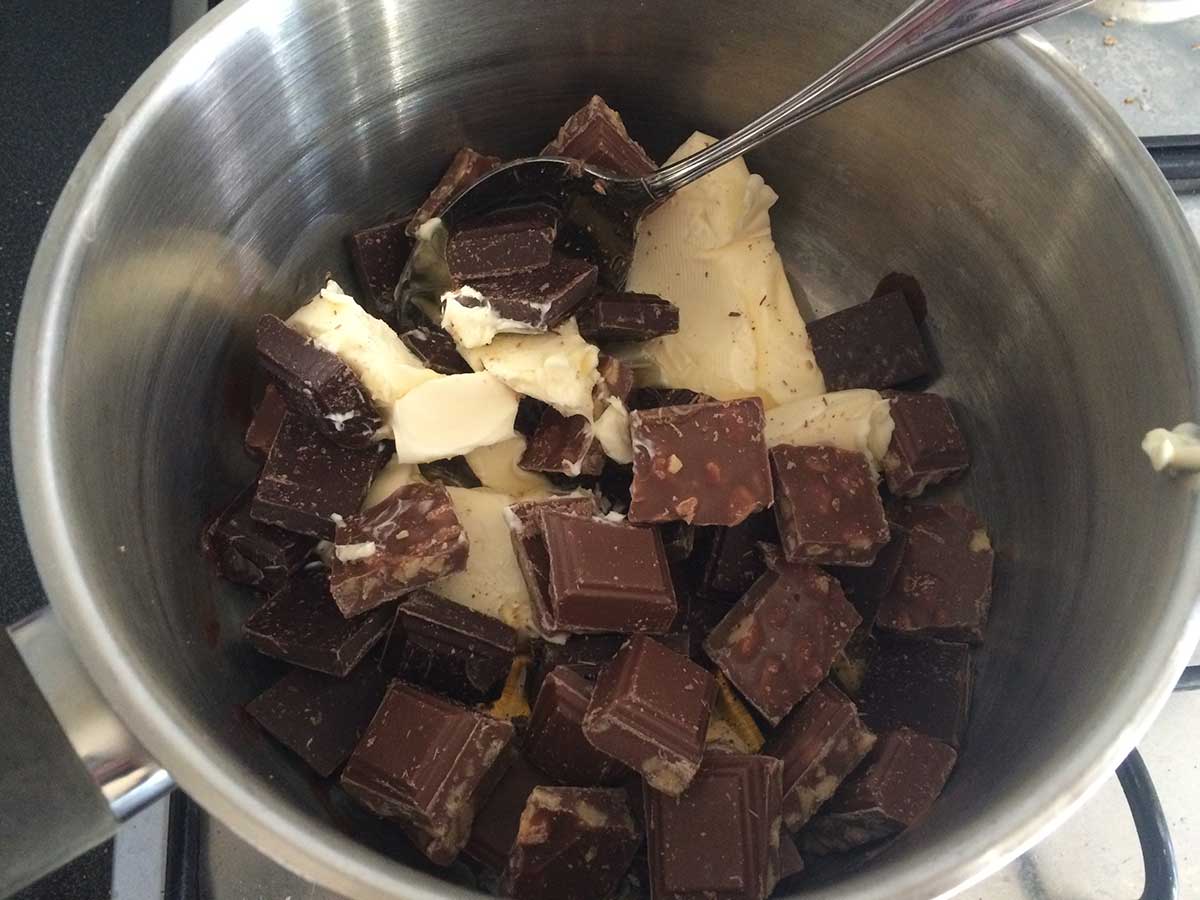
Method
- Prepare all your ingredients – by which I mean crumble/chop/smash the biscuits into small pieces, chop any larger items into small pieces (e.g. I usually cut dried apricots into quarters), and break up the chocolate.
- Put the butter and golden syrup and chocolate into a large saucepan and heat over a low-medium heat stirring constantly until everything melts together.
- Remove from the heat and let cool for a little while – long enough to prepare cupcake cases! 🙂
- Add all your ingredients other than the marshmallows into the pan and mix it all up.
- Finally add the marshmallows and give it another good stir (they will melt if you add them too early!)
- Fill up your cupcake cases or tray with the mixture.
- Place in a fridge for as long as you can resist them to firm up the chocolate 😉
Variations
Variations are easy! Start with the Basic Rocky Road recipe, take out some of the biscuits, and replace with your favourite sweet treats 🙂 Here are some more suggestions for great additions:
- Malteasers (chopped in half)
- Mars/Snickers/Bounty/Favourite chocolate bar (chopped into pieces)
- Raisins, Dried Apple, Dried Mango
- Meringue pieces
- Peanuts/Cashews/Walnuts/Nuts!
- Smarties for added colour
Basically, anything will go in these and make awesome treats 🙂 Go for super indulgent chocolate madness, or pretend to be healthy with some dried fruit and nuts 🙂 What are you going to put in yours? 🙂
Baked Hooters Style Buffalo Chicken Wings
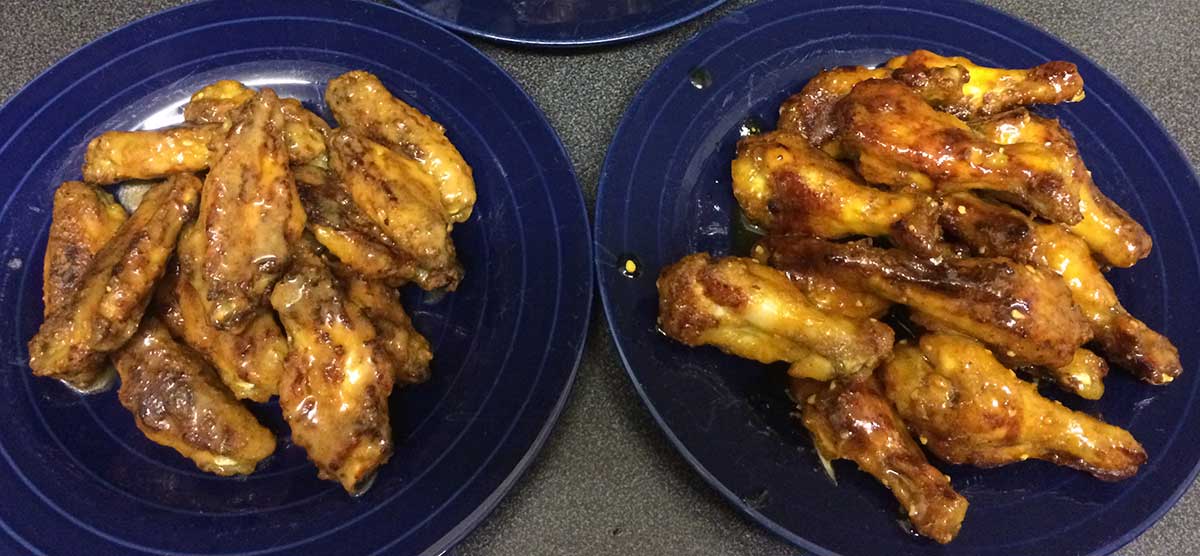
Chris and I are a little addicted to Hooters wings when we’re in Vegas. I wanted to make some at home to soothe our cravings whilst in England, and discovered that all the recipes I could find involved deep frying. I wanted something a little healthier and combined a few recipes and tweaked until I was happy with the results 😀
I separate the wings and skin them, then dunk them in milk, coat them in my special breading mix, and bake them. Once they’re cooked through and all crispy on the outside I drench them in hot sauce ready to serve with some celery and ranch dressing 🙂
Ingredients for 4
- 2kg chicken wings (about 20 complete wings – 5 each)
- 1 cup plain flour
- 1 tsp paprika
- 1 tsp garlic powder
- 1 tsp cayenne pepper
- 1 tsp black pepper
- 1/2 tsp salt
- 4 tbsp grated parmesan cheese
- 1/2 cup milk
- A little oil
- 1/2 cup butter
- 1/2 cup hot sauce
Method
- Preheat your oven to 200C/400F.
- First you need to mix up the ingredients for the breading. Place the flour, paprika, garlic powder, cayenne pepper, black pepper, salt and parmesan cheese into a large flat Tupperware, then put the lid on and shake up the box until it’s all evenly mixed.
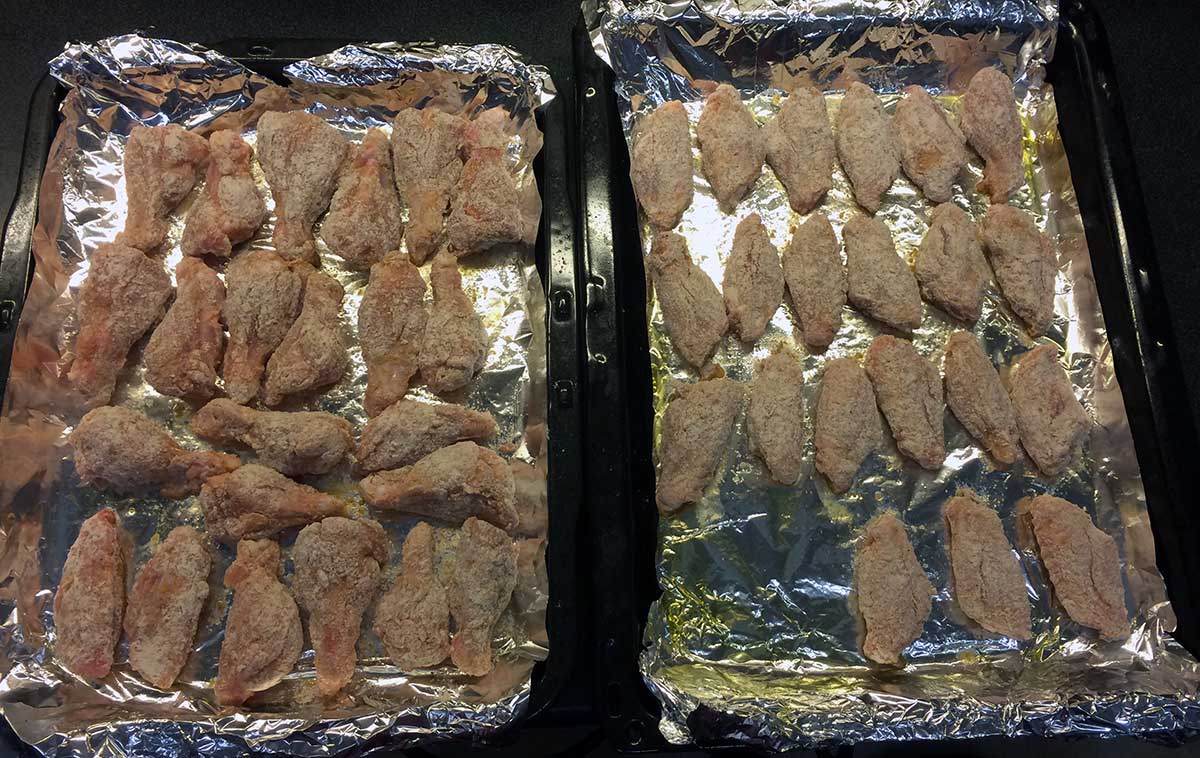
- Pour the milk into a flat bowl and line a couple of baking trays with foil. Spread a little oil on the foil to encourage the wings not to stick! Then organise your work surface like this… Chicken wings, chopping board, bowl of milk, box of breading, baking tray:

- Chopping up and skinning the wings is next and I’ve included a little video to show the way I do this. We only want to eat the 2 main parts of the wing, the tips are good to feed cats if you have any! Removing the skin is actually pretty easy once you get the hang of the technique.
- Next you want to coat the wing segments. First dunk them in the milk, and then roll them in the breading mix, then place them on the baking tray.
- Your fingers will become an icky sticky mess during this process! Here are the wings all coated and ready to go in the oven.
- Now pop the wings in the hot oven for 20 minutes. Then give them all a turn over, and put them back in for 15 – 20 minutes.
- While they cook you can mix up the hot sauce. Use any hot sauce you like, Frank’s will make them taste like Hooters wings, but we also love a sweet ginger, chilli and garlic sauce 🙂 You want to mix it up at about a 50/50 ratio with melted butter. The more butter you add, the less hot the sauce, so you can do this to taste depending upon your tastes! 🙂
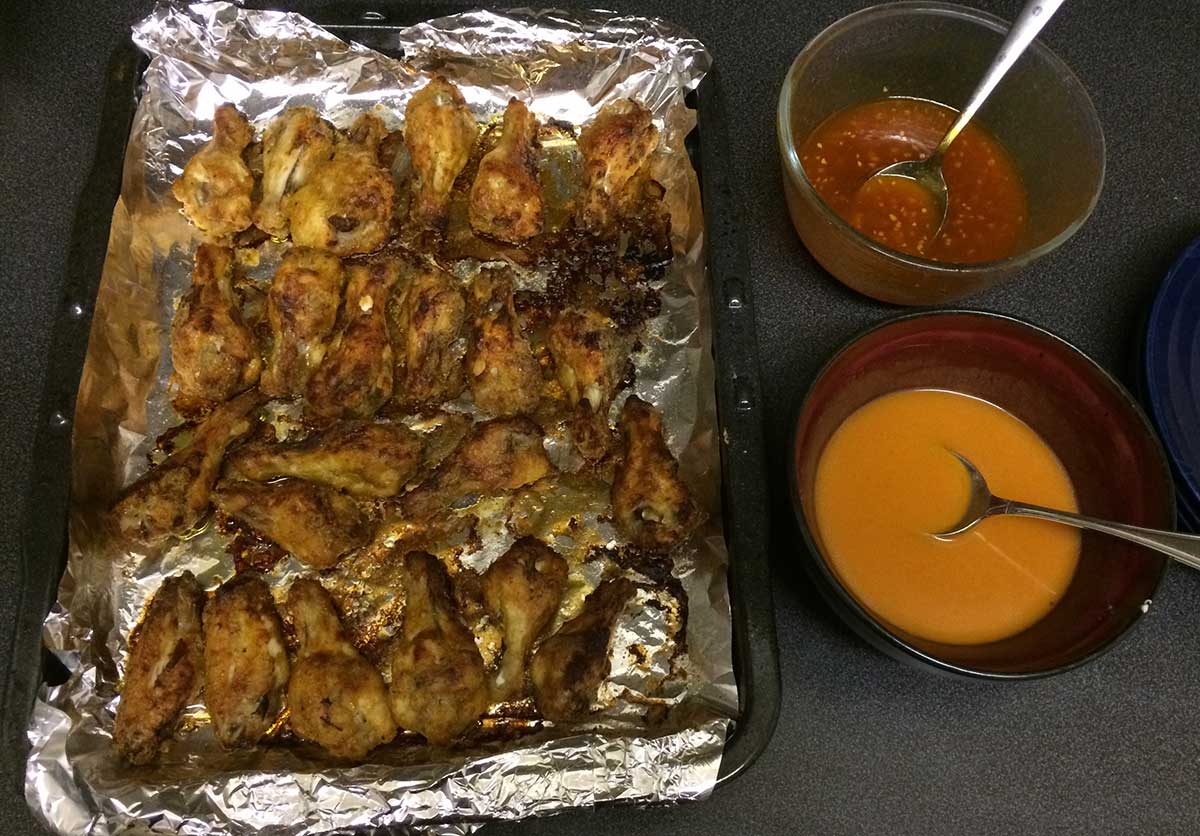
- Once the wings are cooked take them off the tray and dunk them in your bowl of hot sauce – make sure the wings are completely covered for maximum taste!
- Serve whilst hot with celery and ranch dressing! Yum! 🙂
Variations
Changing the hot sauce can make this recipe taste dramatically different! Use your favourite or try out a new one! 🙂 Taste the hot sauce first as some may not need much butter, others may need a lot! Sometimes I add some chopped garlic, black pepper, or other spices to the butter & hot sauce mix for a change too 🙂
English Pancakes
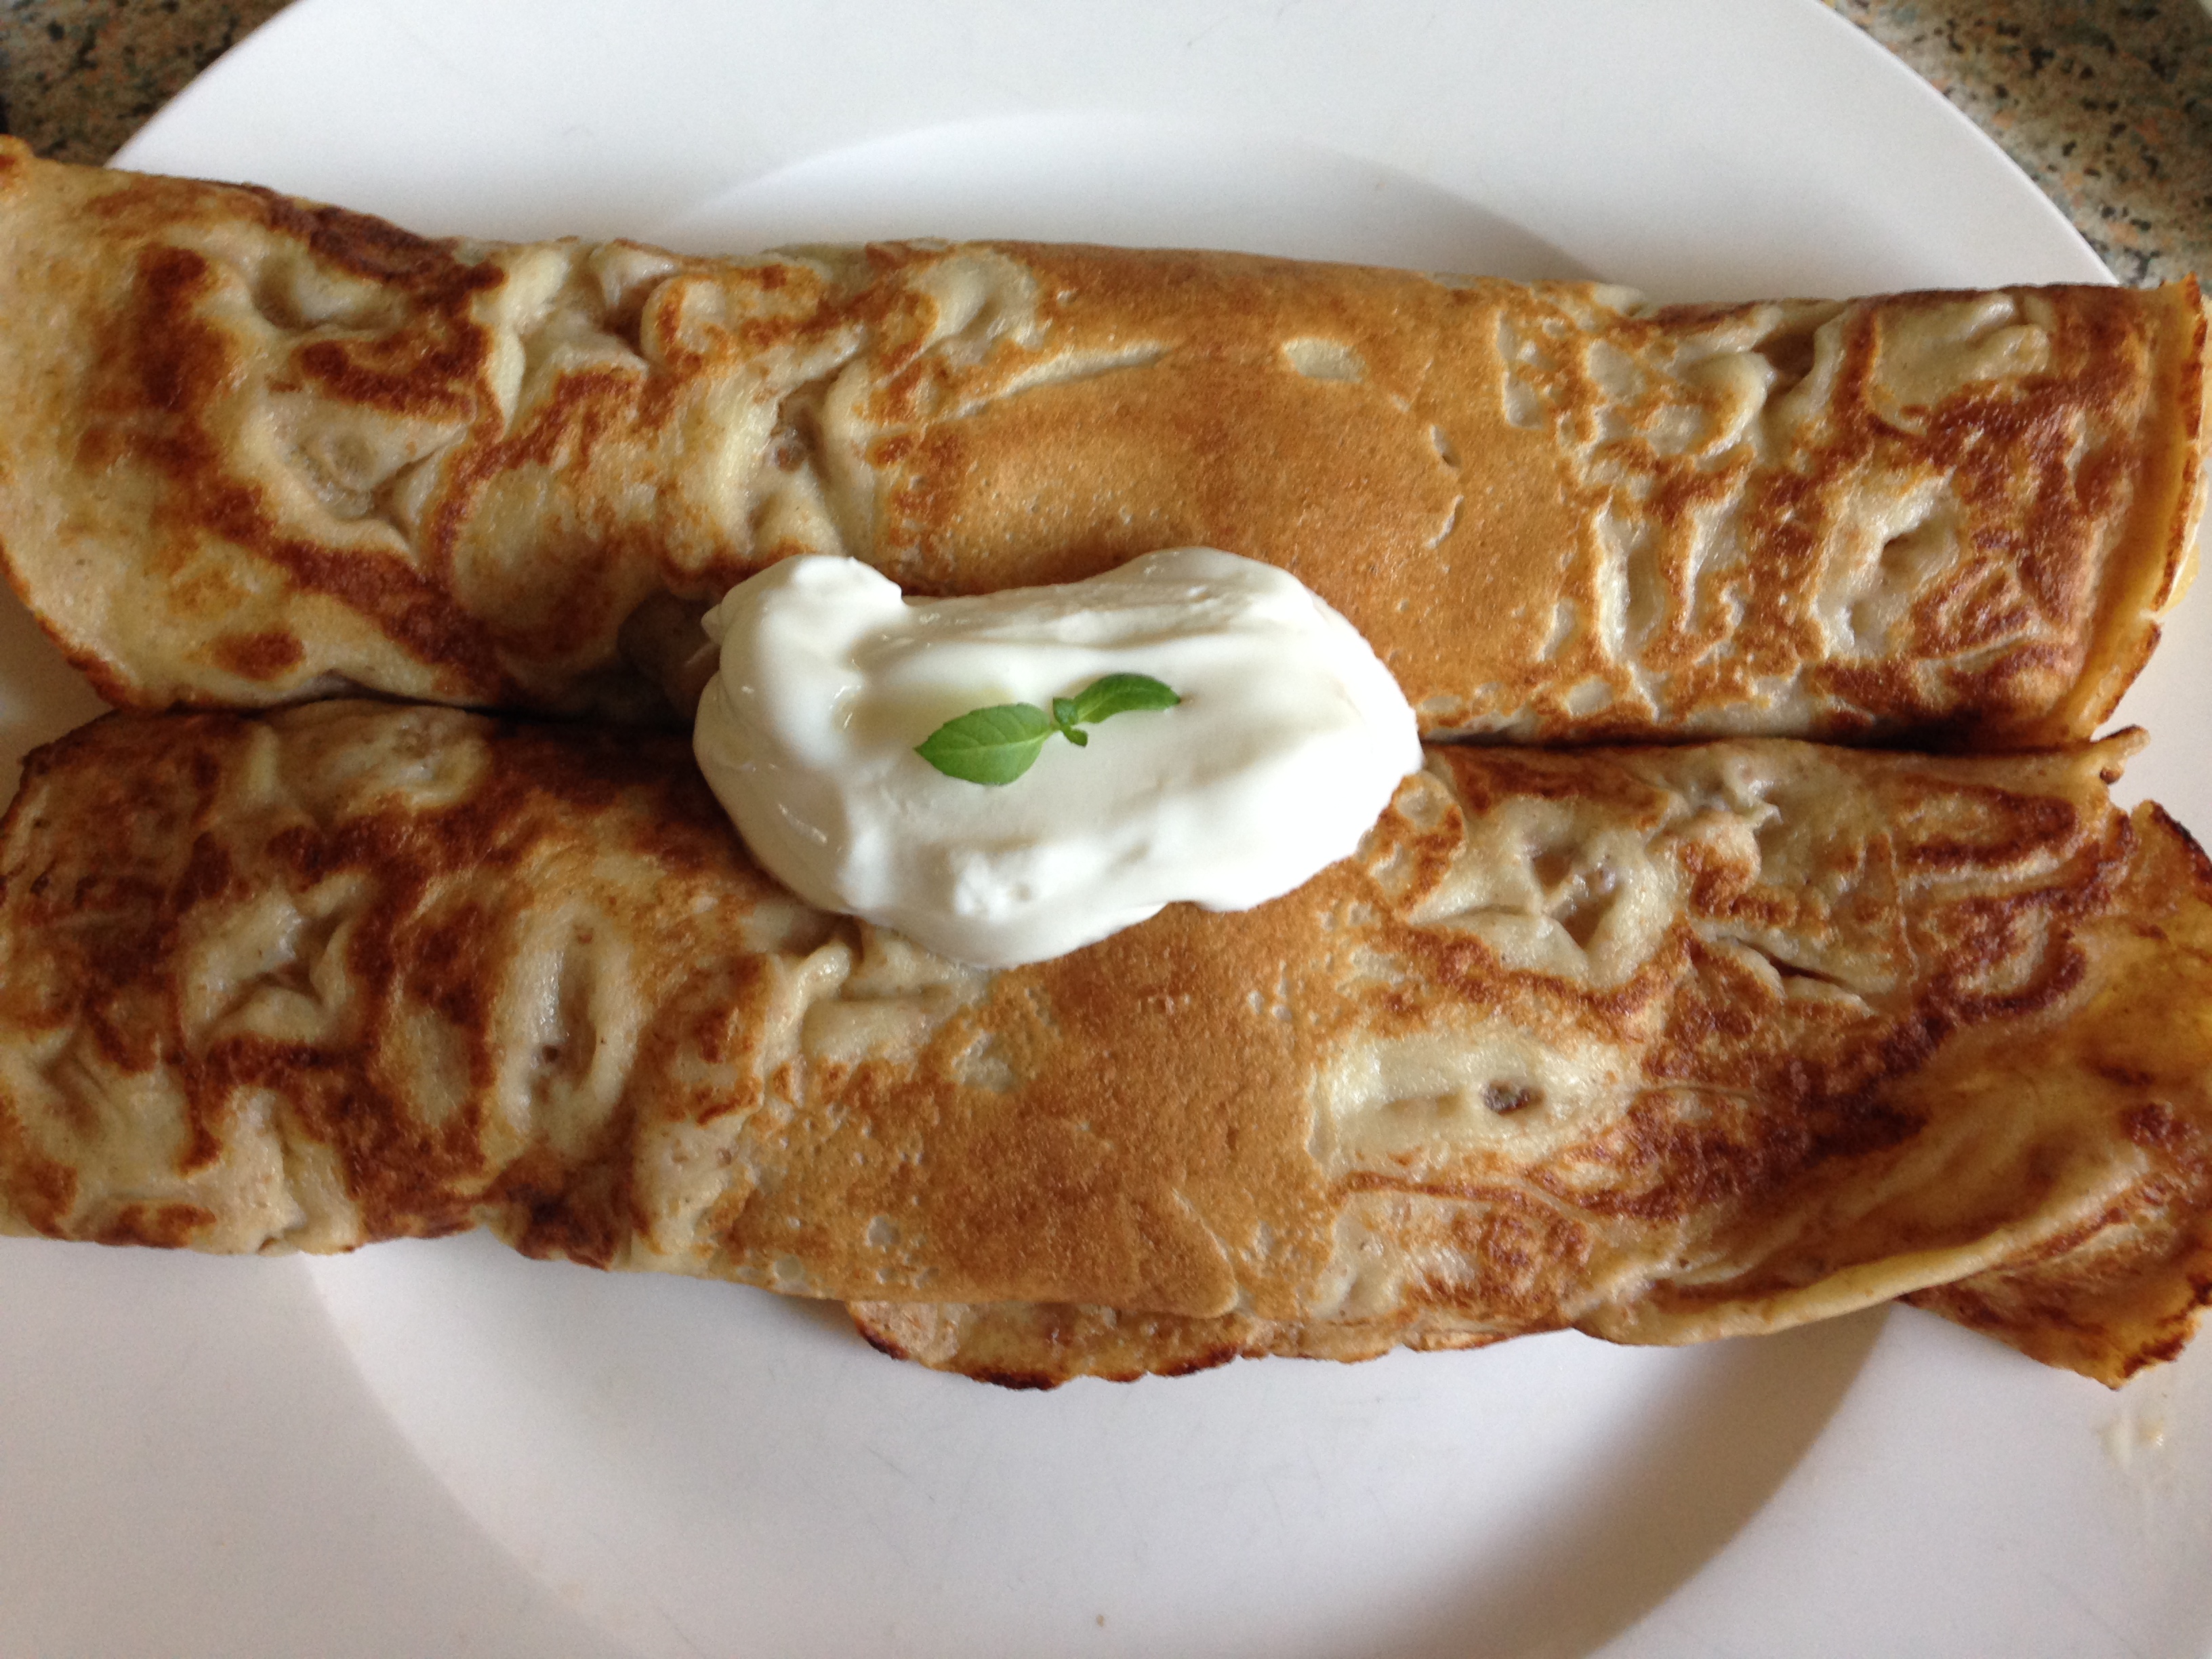
Apple Pancakes with Greek yogurt
Pancakes are something I used to make fairly regularly when our daughters were still at school, a hearty and healthy breakfast to start the day. I hardly ever ate them because, by the time I had cooked enough for three girls and my husband, I really did not want to cook another for myself.
Nowadays I make them very infrequently and usually have to look out my recipe because I have forgotten the proportions. So, here we have my favourite recipe for English pancakes – in Florida we generally eat American buttermilk pancakes. My personal favourite filling is gently simmered apples with cinnamon and a dollop of Greek yogurt on top.
If you would like to make the apple pancakes you will need to prepare the apples first.
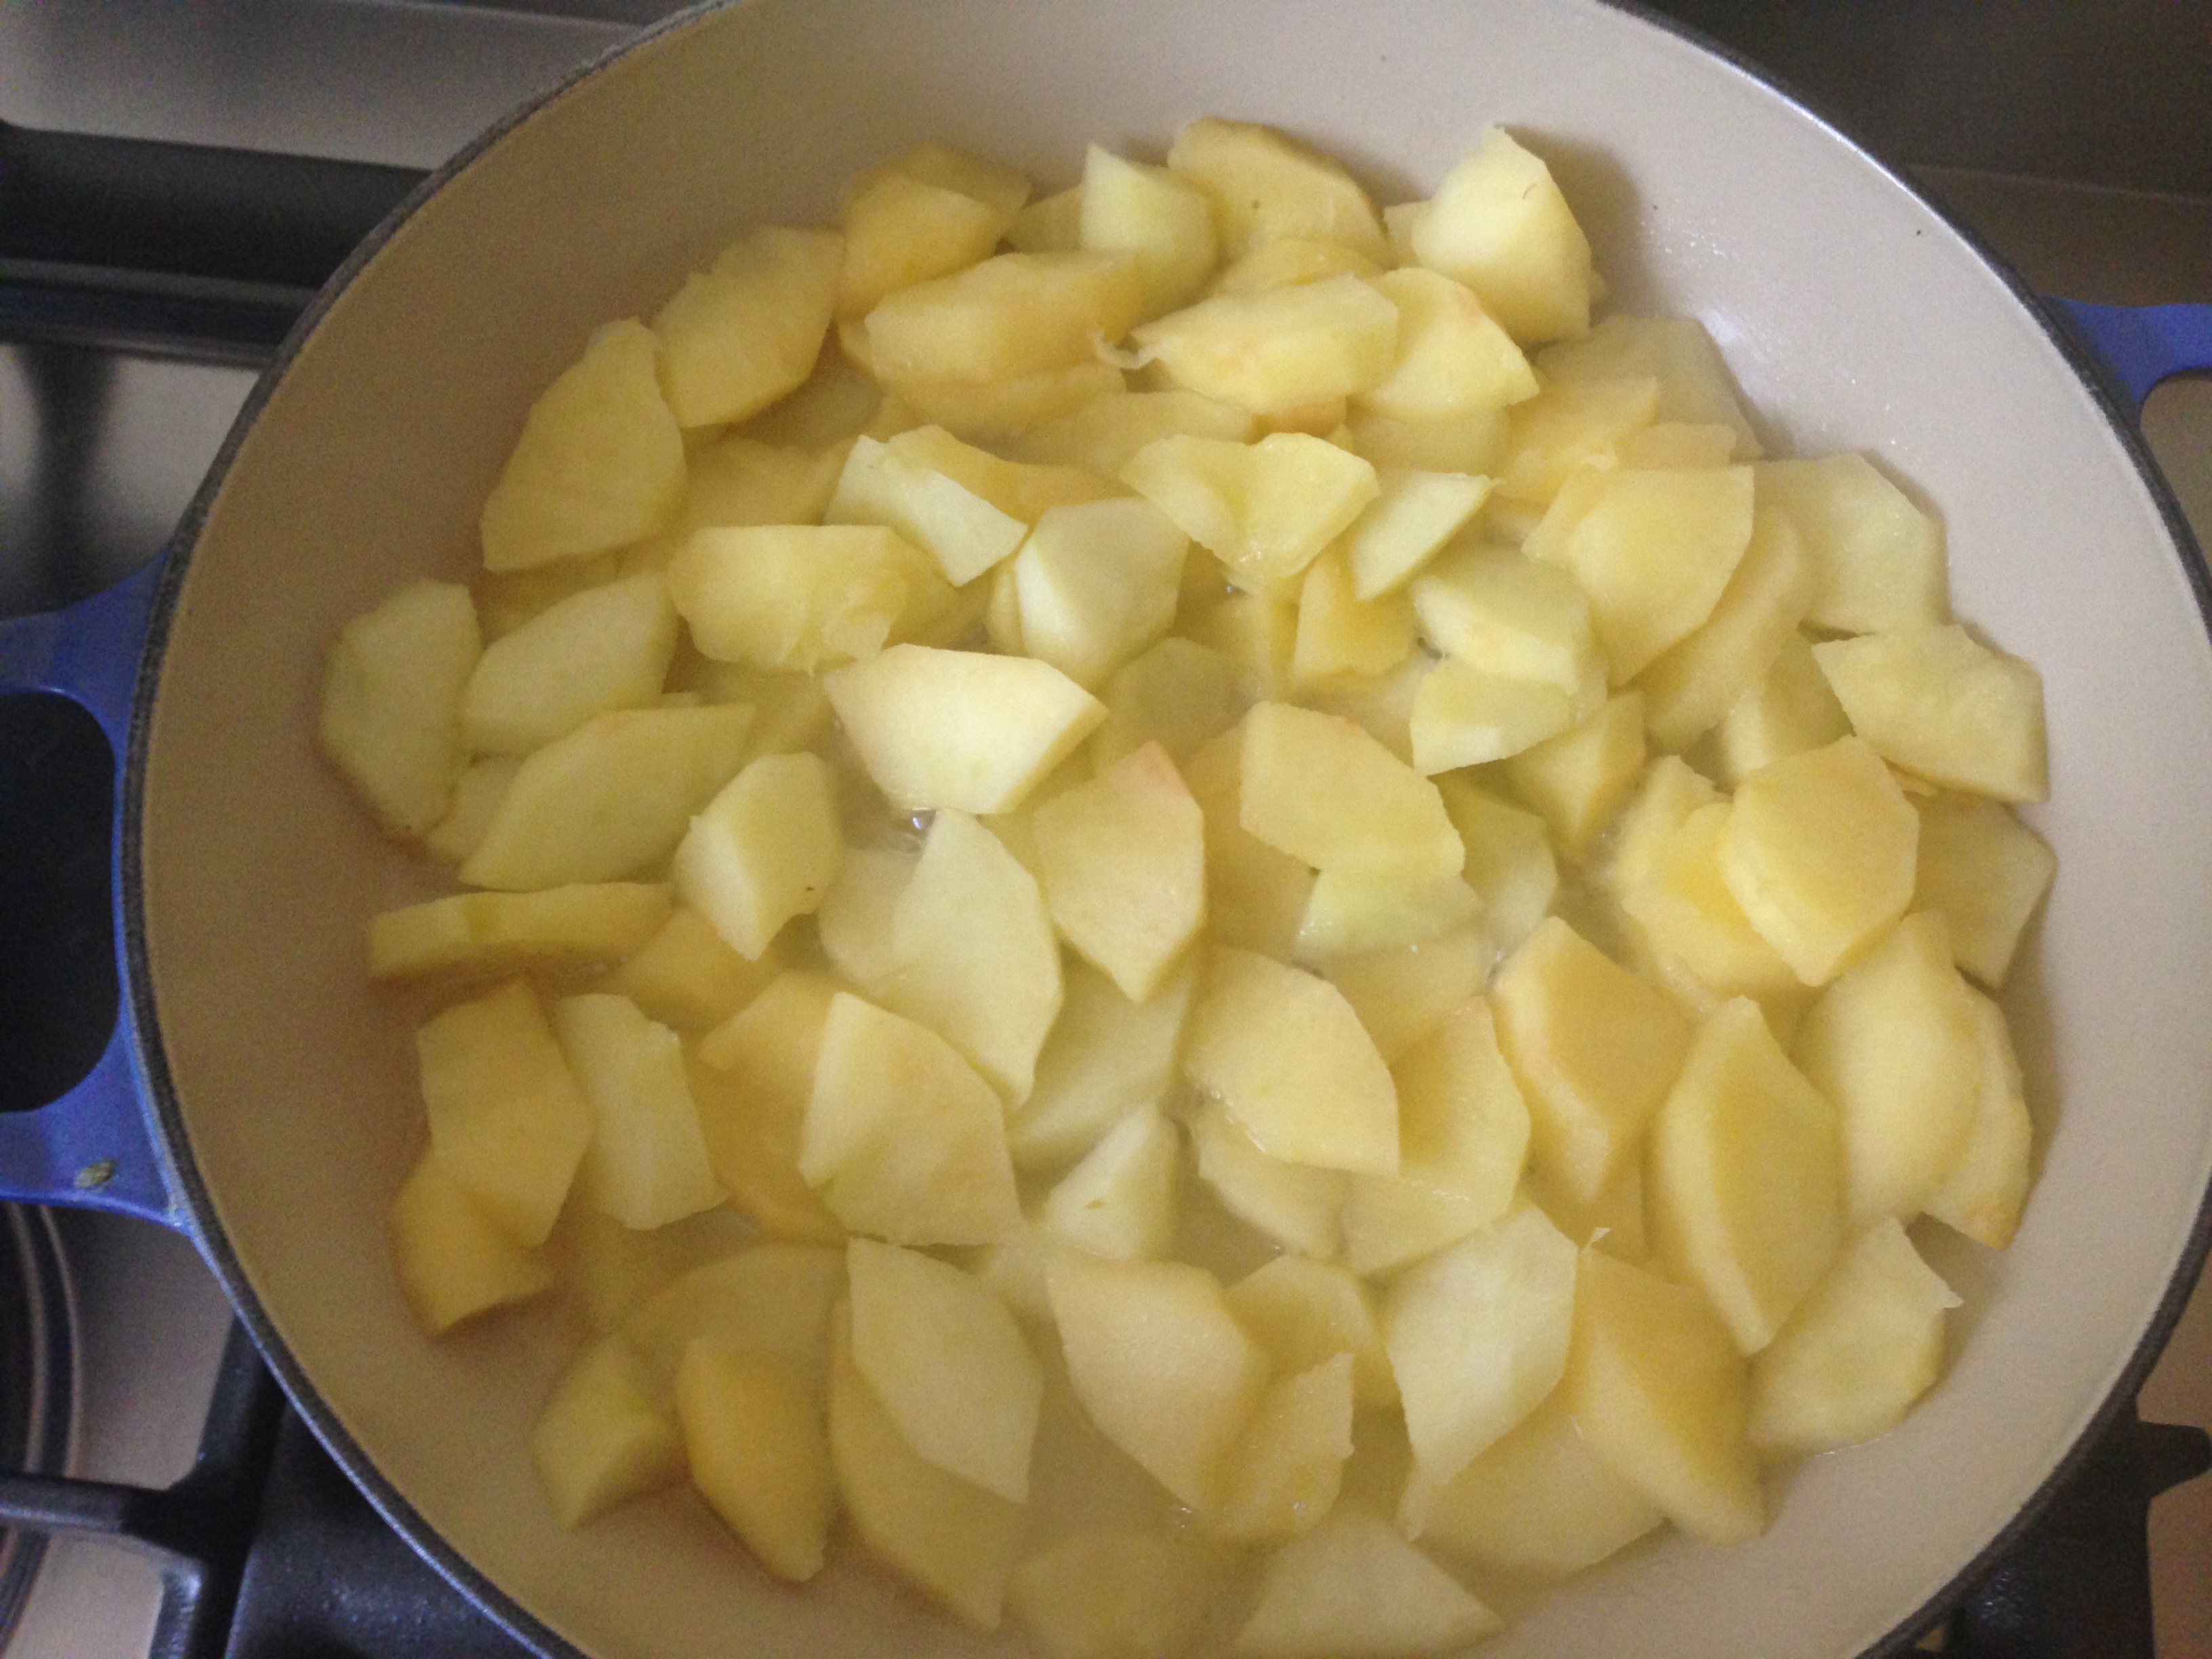
Apples at start of cooking
Braised Apples Ingredients:
- 4 medium eating apples
- 1/2 to 1 tsp cinnamon (to taste)
- 25g butter
Braised Apples Method:
- Peel, core and slice the apples.
- Put the butter into a heavy frying pan (it needs to be one with a lid)
- Add the apples and bring up to a gentle bubbling. Cover and cook on a low heat for about 20 minutes until they start to turn translucent.
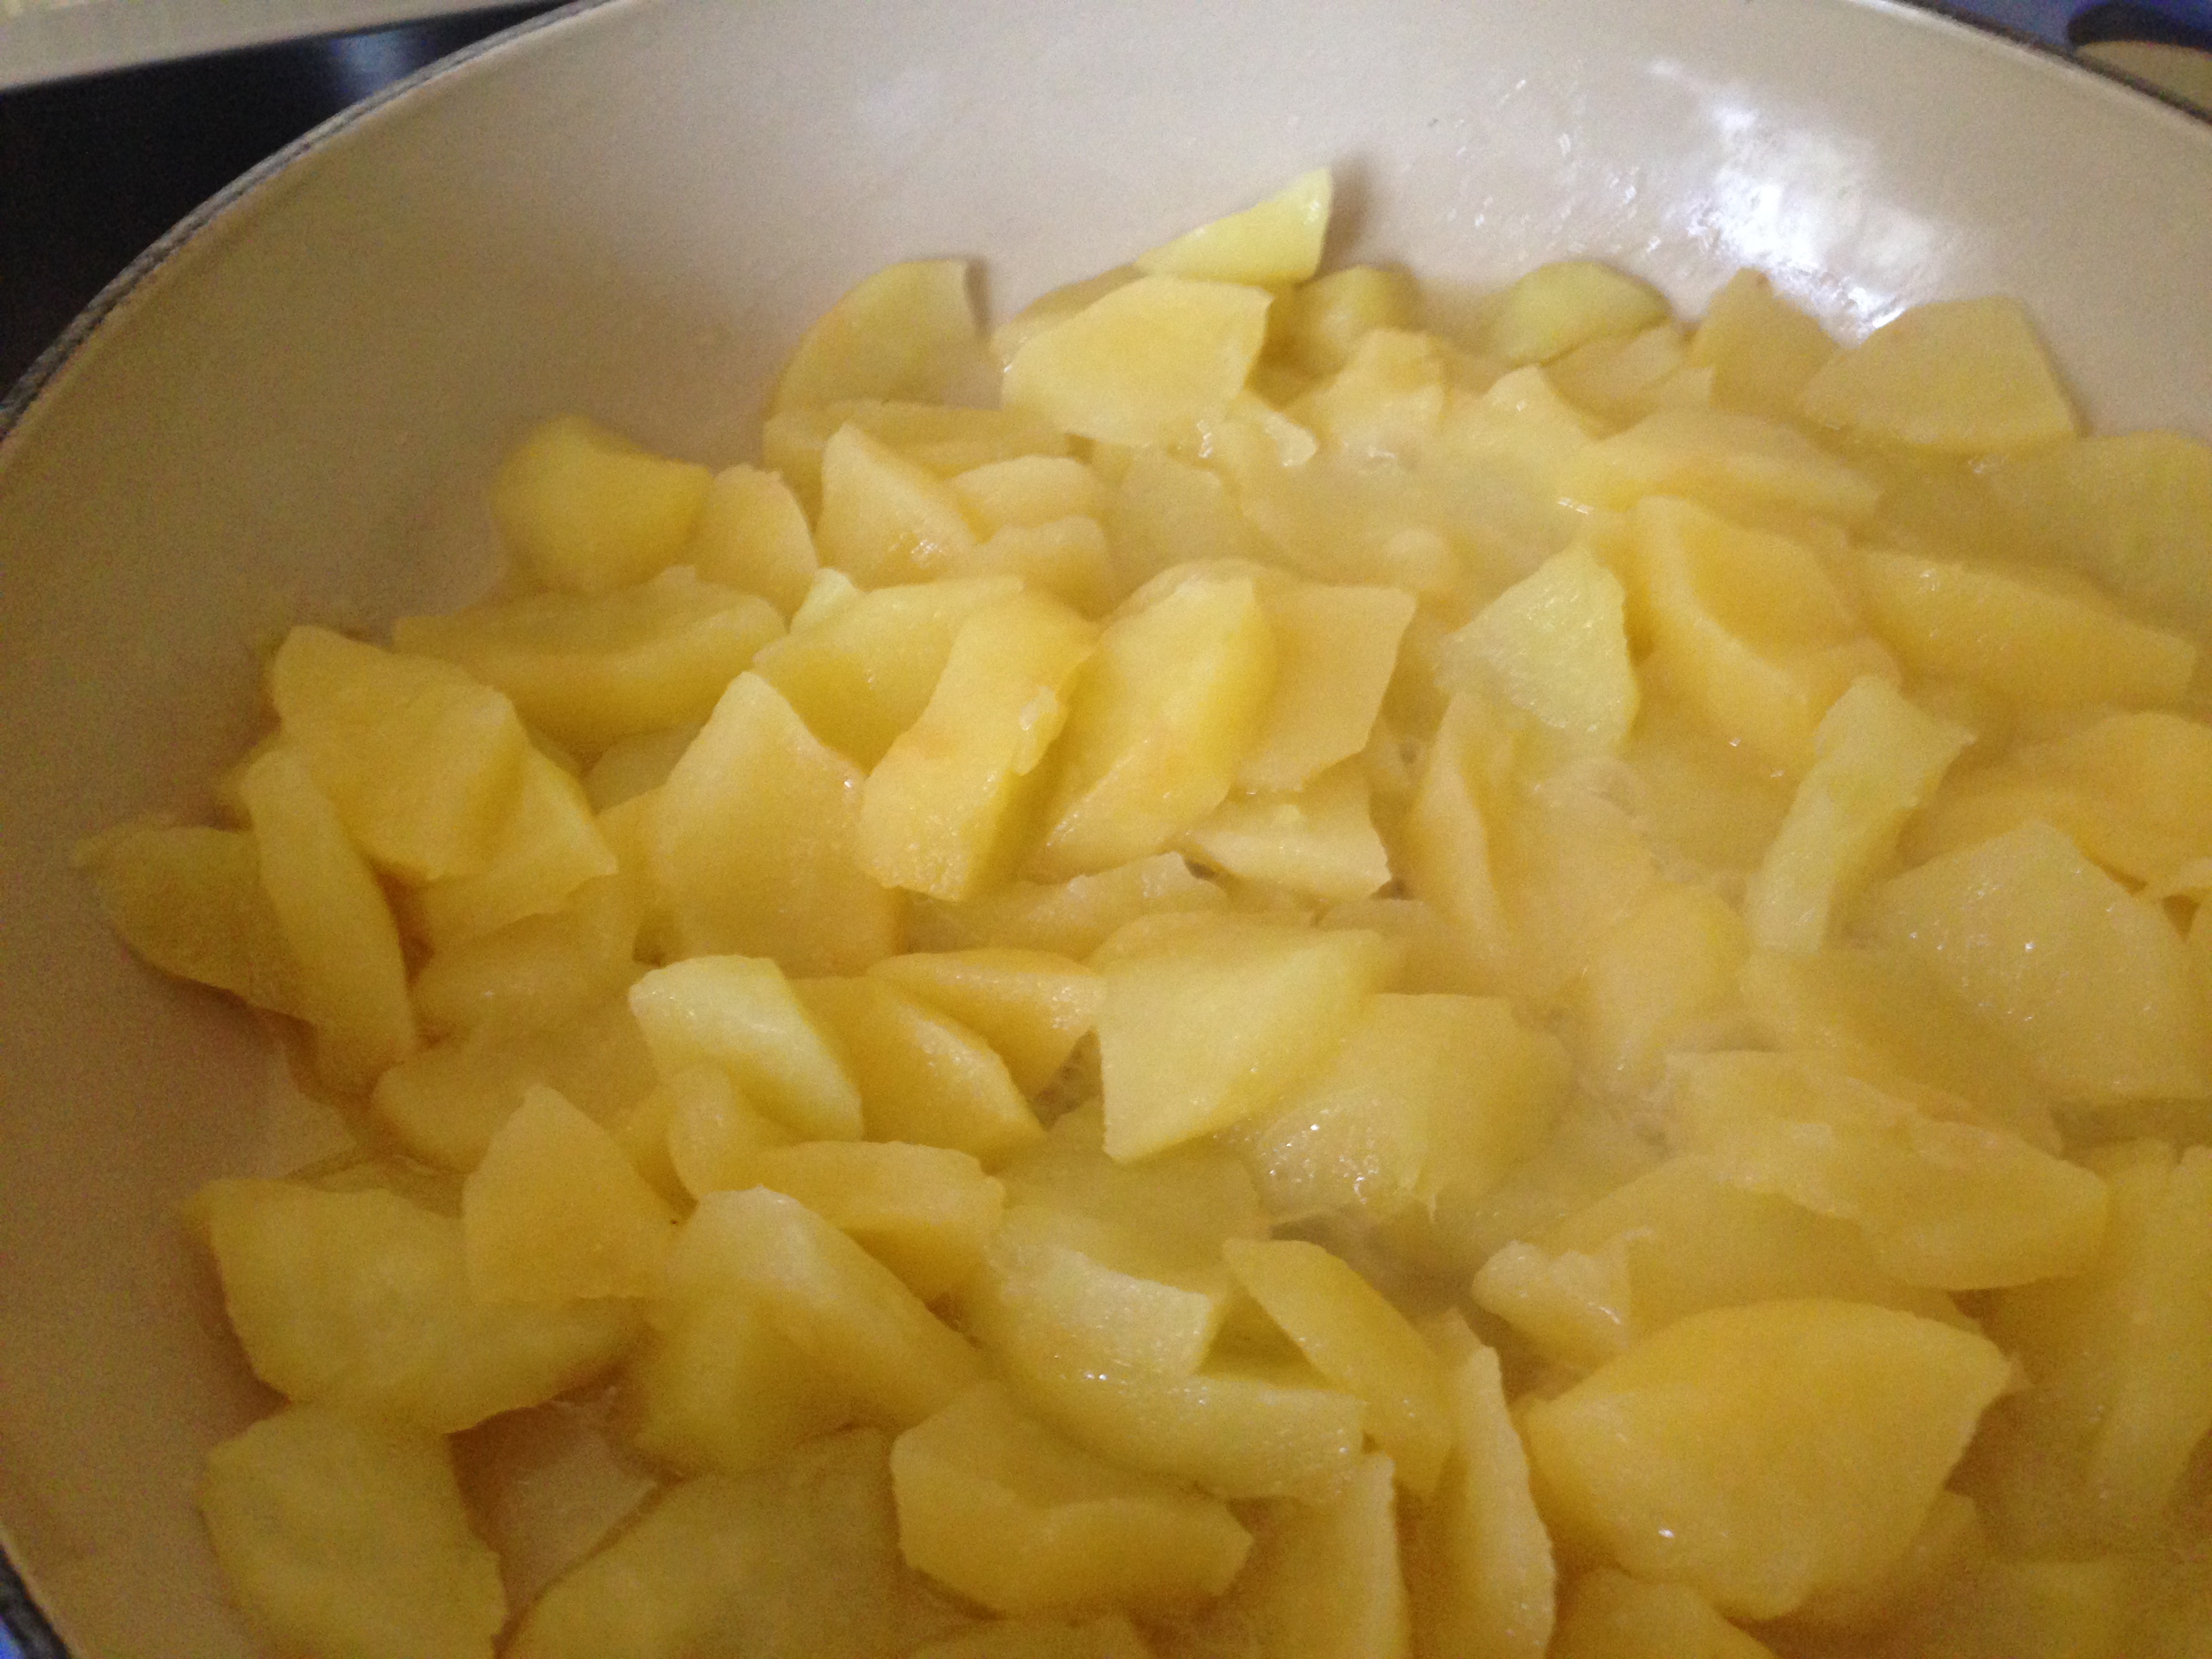
- Sprinkle cinnamon over the apples.
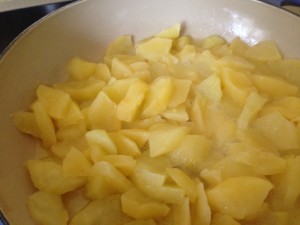
Looking nicely translucent and ready for cinnamon and a rest
- Turn off the heat, cover and leave to rest.
Apples nutrition (one fifth cooked quantity):
- Carbs 16g
- Cals 108
- Fat 5g
These braised apples are wonderful put into small individual casseroles, topped with a very small quantity of crumble topping and baked in the oven for about 15 mins to brown the top.
Serve as a dessert with Greek yogurt or cream. Oops I digress! Back to the pancakes!
Pancake Ingredients (5 large pancakes):
- 200ml milk
- 50ml water
- 2 large eggs
- 60g plain white flour
- 60g plain wholemeal flour
- pinch of salt
- 25g butter, melted and added to the mixture
- Extra butter for frying the pancakes
Pancake Method:
- Add the first 7 ingredients to a blender in the order shown (this is simply to make sure the flour does not stick around the bottom of the blender – when it sticks around the top of the mixture its easy to scrape off and blend in). You can sift the flour if you wish but I just measure the flours into a dish and sprinkle them into the blender to incorporate some air.
- Blend until well mixed and the batter will just coat the back of a spoon. Now leave it to rest (while you go have a shower or get ready for the day if you’re making them for breakfast) and turn the heat off the apples if you are making them also.
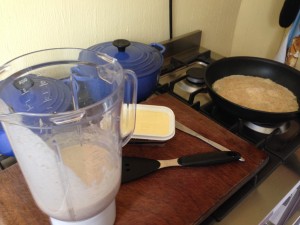
- If you have workspace next to your cooker arrange the butter, pancake mix, a knife and a spatula on it. I don’t have worktop by my cooker so I use a lovely old Liberian Mahogany chopping board resting on the cooker top. It was made for me years ago by my husband Stuart from the packing case used to transport our belongings back to UK, its very wobbly but the best chopping board in the world. 🙂
- Pre-heat your oven to 100c/210f and pop an ovenproof plate in to warm.
- Quickly (before the butter burns) add about 2/3rds a cup of batter (you need to experiment to get the right amount I just pour from the blender and judge the quantity by eye) gently tilting the pan to spread it evenly around.
- After about 2 minutes it should be setting on top and underneath will be a lovely spotty brown.
- Flip it (I use a spatula as I make an awful mess if I try tossing them) and cook for another 1-2 minutes until cooked underneath.

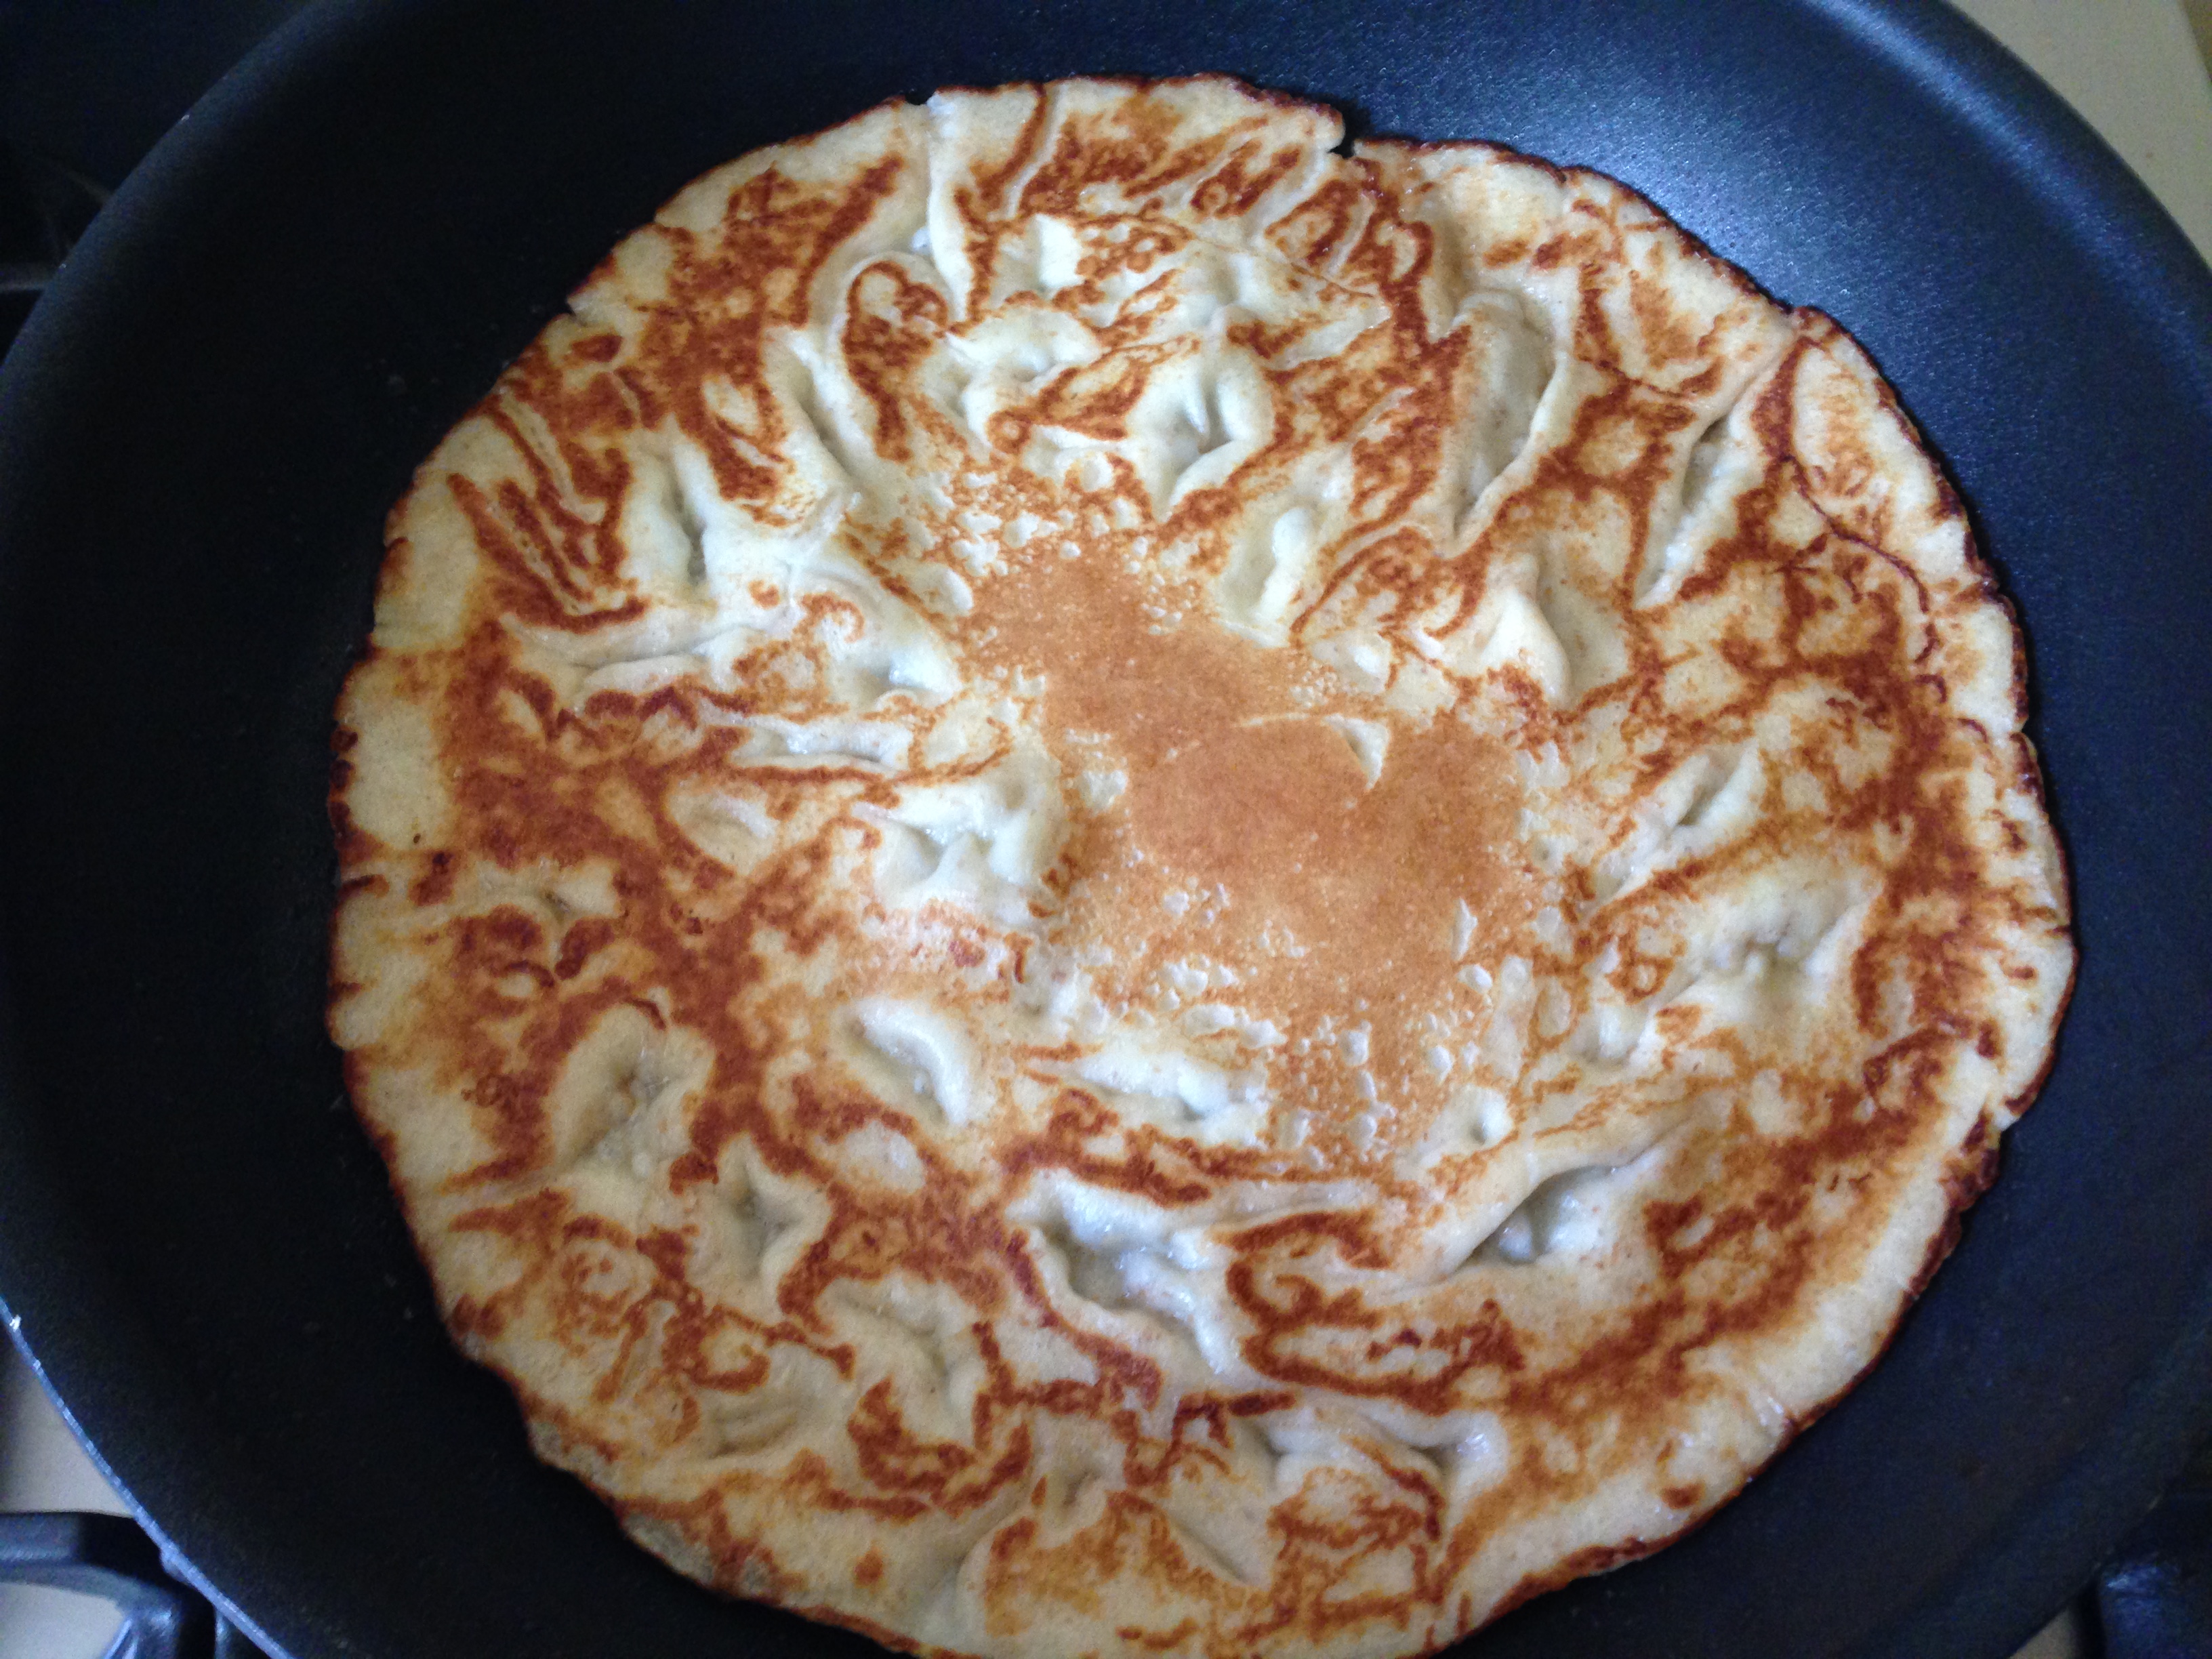
- Transfer to the warm plate and pop into the oven to keep warm while you cook the remaining pancakes.
- Arrange the pancakes onto serving plates, share the apples between them and roll up.
- Top with a dollop of Greek yogurt and enjoy.
- Of course these are just as good with any other sweet or savoury filling of your choice. Why not post a photo of your favourite pancakes?
Nutrition (per pancake excluding apples):
- Carbs 19g
- Calories 189
- Fat 5.4g
- Sodium 165mg
- Protein 5.9g
Impossible Pie
Impossible pie? No, it is very definitely possible and probably the simplest dessert I ever made, just mix it all together, pop it in the oven and presto! Yummy crispy coconut macaroon top, a soft pie base and custardy centre.
This recipe is one I used to make regularly before Stuart became diabetic at which time we tried to reduce the amount of sugar and carbs we consumed on a daily basis so this one dropped off my “to cook” list. However, a few weeks ago we had dinner with friends we had not seen for years and were served this pie, which Angie had cooked from a recipe I gave to her in the 1990’s. I was originally given the recipe by an American friend we met in Liberia in the late 1970’s. Over the last weekend discussing food with Katherine and Helen I said that I would look it out and let them have the recipe which is what started this whole recipe blog.
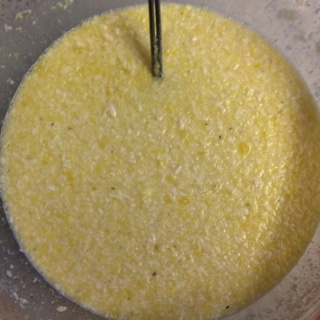
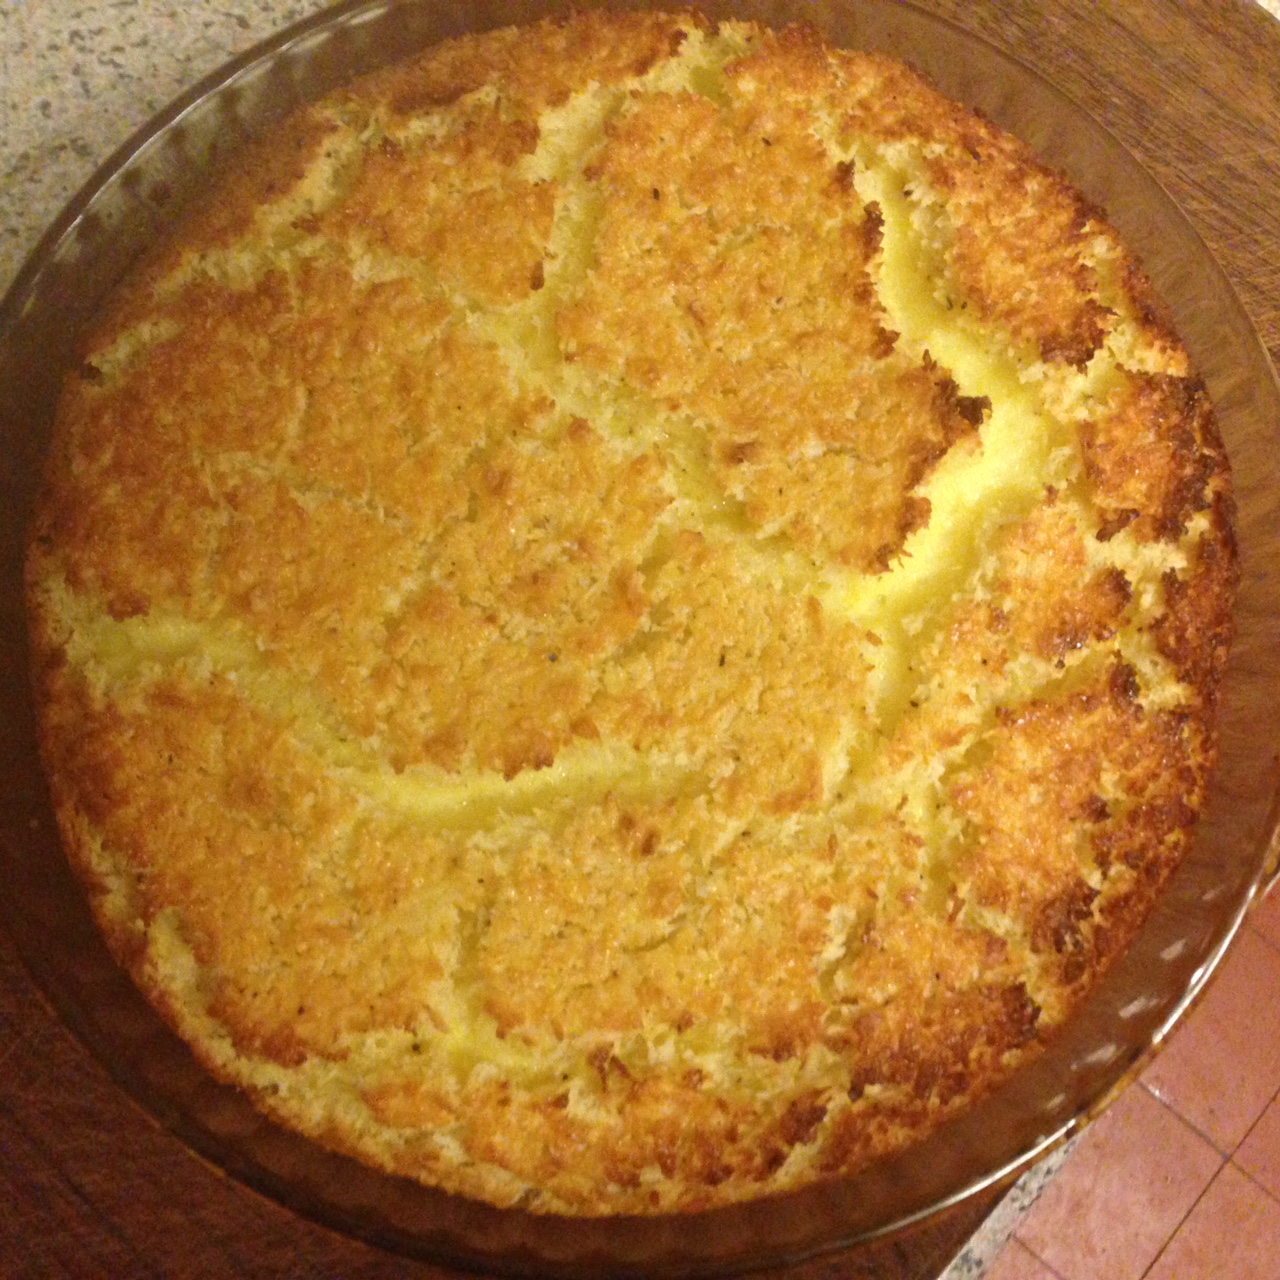
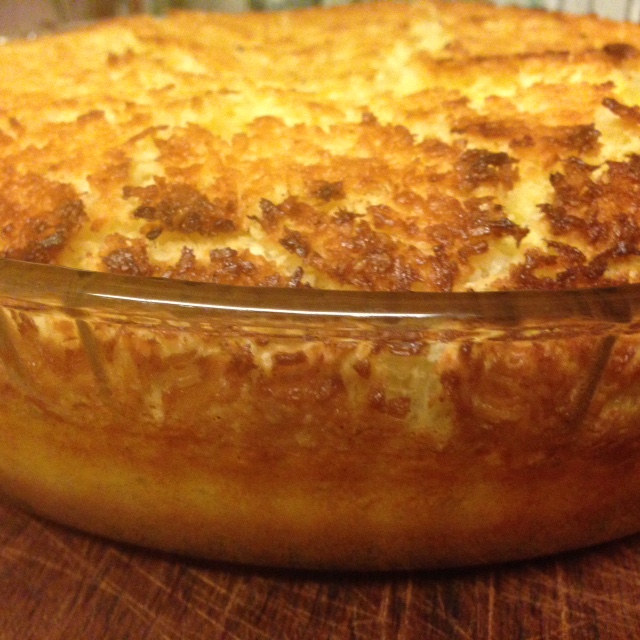
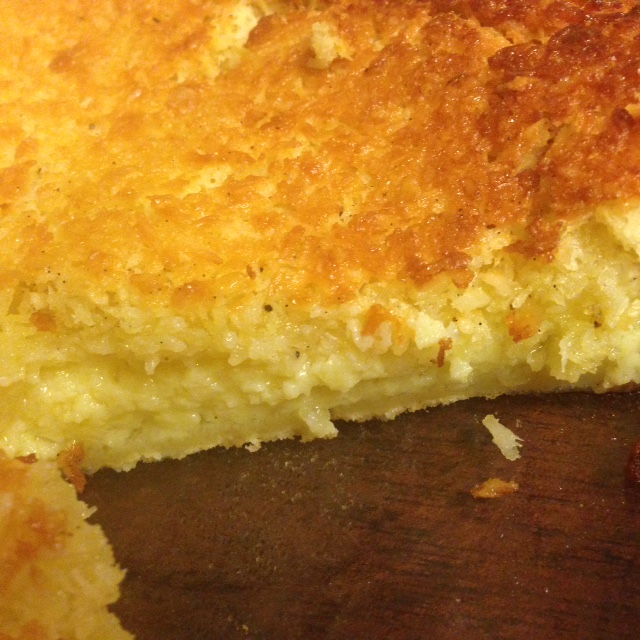
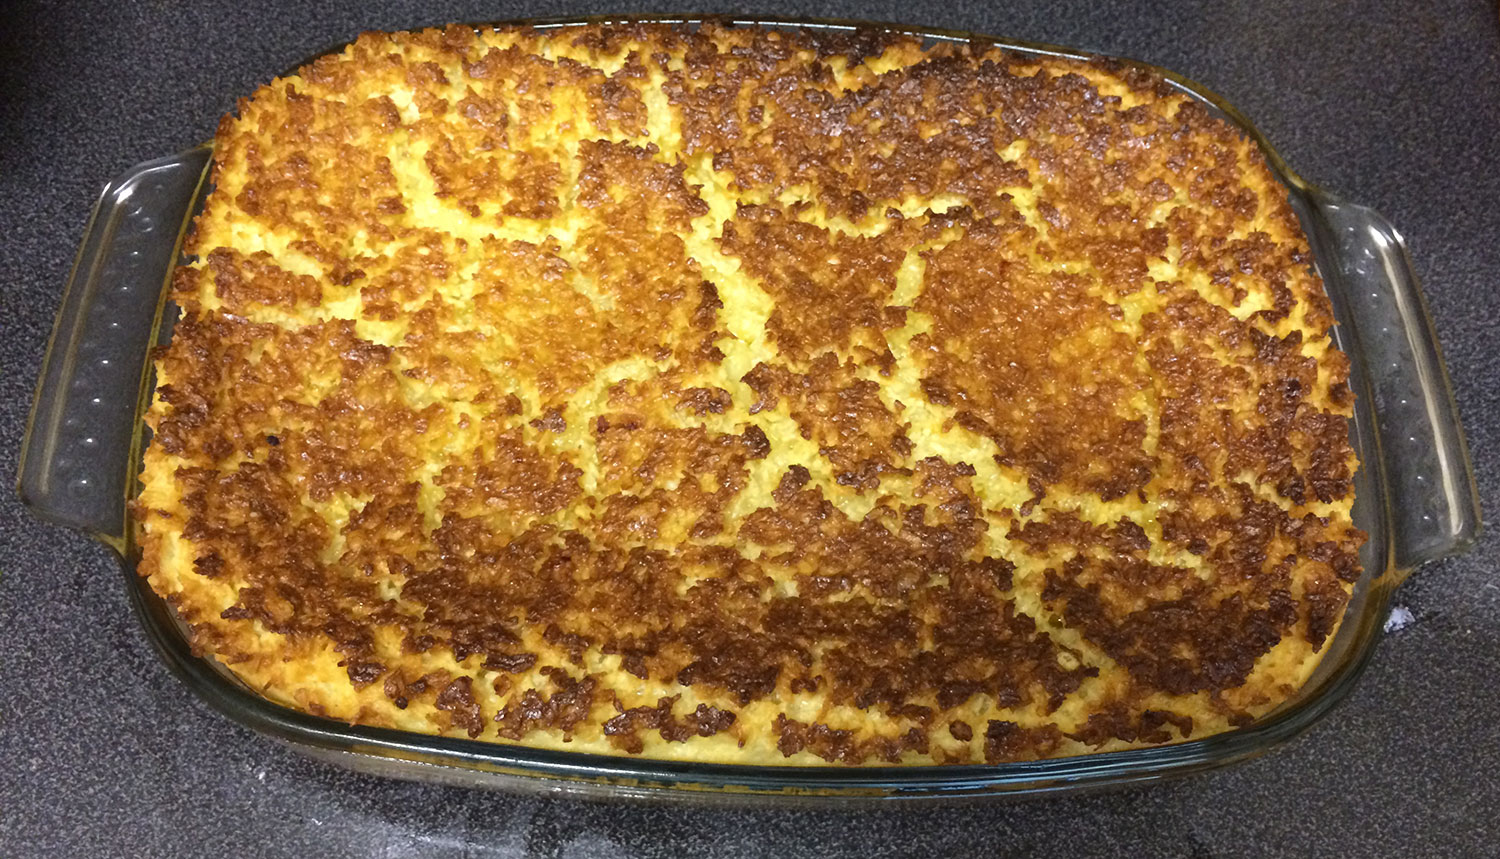
Picture one shows the ingredients well mixed and the other 3 show the finished results. When it comes out of the oven it is light and fluffy and the coconut is very crispy but as it cools the custard settles as you see in the sliced pie.
Ingredients
- 4 Eggs – large
- 0.5 cup Butter, melted
- 2 cup Milk
- 1 cup Sugar
- 0.5 cup Plain White Flour
- 0.25 tsp Salt
- 0.5 tsp Baking Powder
- 1 tsp Vanilla Extract (or ground vanilla seeds)
- 1 cup unsweetened shredded coconut
Method
- Set oven to 350F/180C.
- Grease a 9 to 10 inch pie plate or flan dish.
- Put all ingredients into mixing bowl and mix thoroughly.
- Place in the centre of the oven and bake for 45 minutes or until top is golden brown.
Nutrition (per slice when cut into 8 slices)
- Carbs 38g
- Calories 374
- Fat 22g
- Sodium 261mg
- Protein 8.3g
Notes
The original recipe I used to make had 1.5 cups of sugar but this was extremely sweet and still is with just the one cup, in fact I will try again reducing the sugar even more.
Variations
I have ideas to make several variations of this recipe. My first will be to omit the flour, reduce the sugar and make individual coconut macaroon topped desserts in brulee style dishes. More on this in future but first I need appropriate dishes!
Update by Katherine
I decided to try out this recipe to celebrate Pi day yesterday and after I finished mixing up the ingredients it looked rather, well, impossible that this liquidy gloop was going to turn into that pretty pie! So I took a quick video to show the consistency so that you could all trust the recipe 🙂
I wouldn’t recommend trying to make this in a pie dish with a removable bottom (I swiftly switched dishes when I saw the consistency!) However, it really did turn into a delicious pie! 🙂
I would recommend serving it whilst still warm, but giving it 15 minutes or so to cool once it comes out the oven – our second helpings were much easier to dish up than the first, rather too eager, slice 😉
Gordon Family Recipes
Welcome to our new blog!
We will be sharing all our favourite recipes with you so that everyone can enjoy our cooking creativity, and so that we don’t lose them! 🙂
Look out for Impossible Pie, coming soon! 🙂